The Vase That Broke (Literally): Building a Touch-Sensitive Volume Control (Part 2)
In my last post, I wrote about the prep work I did to make a vase for controlling volume. This post is a continuation.. Sit tight.
The Conductive Surface Challenge
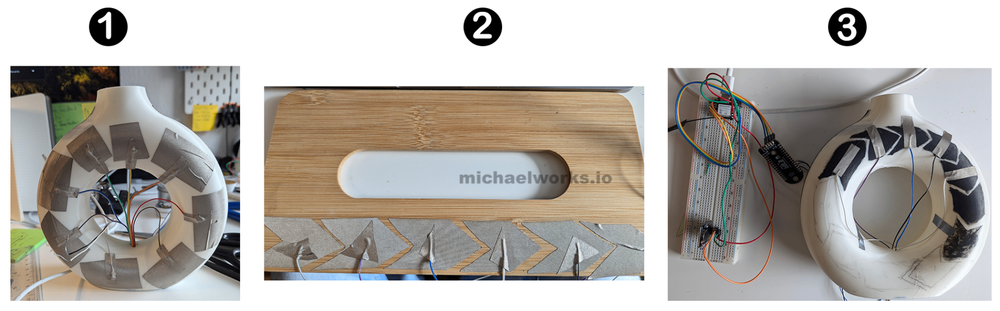
Now came the tricky part: creating invisible touch channels that actually work. My first attempt used conductive tape applied directly to the surface. However, this approach was abandoned as the tape remained visually prominent, compromising the aesthetic integrity of the design.
The solution? Conductive ink. Specifically, water-based conductive black ink that could be painted on, covered with regular paint, and still maintain conductivity. This led to my new favourite workshop technique: precision stencilling with painter's tape.
The Art of Invisible Electronics
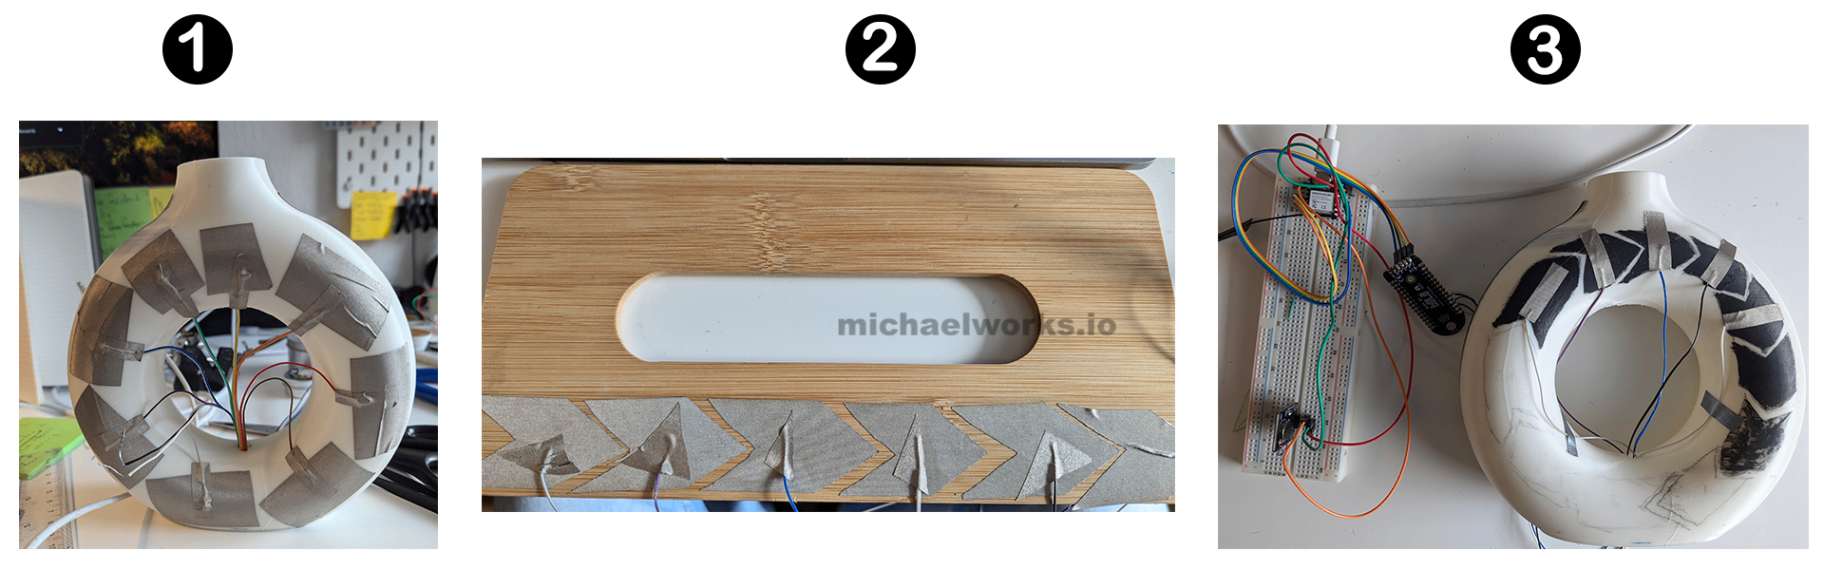
For the touch channels, black conductive ink was diluted with distilled water to achieve appropriate consistency for airbrush application. Painter's tape was applied in chevron patterns to create precise divisions between channels.
Here's the crucial part that took me way too long to figure out: channel spacing is everything. Too wide, and you get capacitance leaks between channels. Too narrow, and the touch detection becomes unreliable. After extensive testing (and several more painted prototypes), I settled on 8mm gaps between channels.
The process became almost meditative:
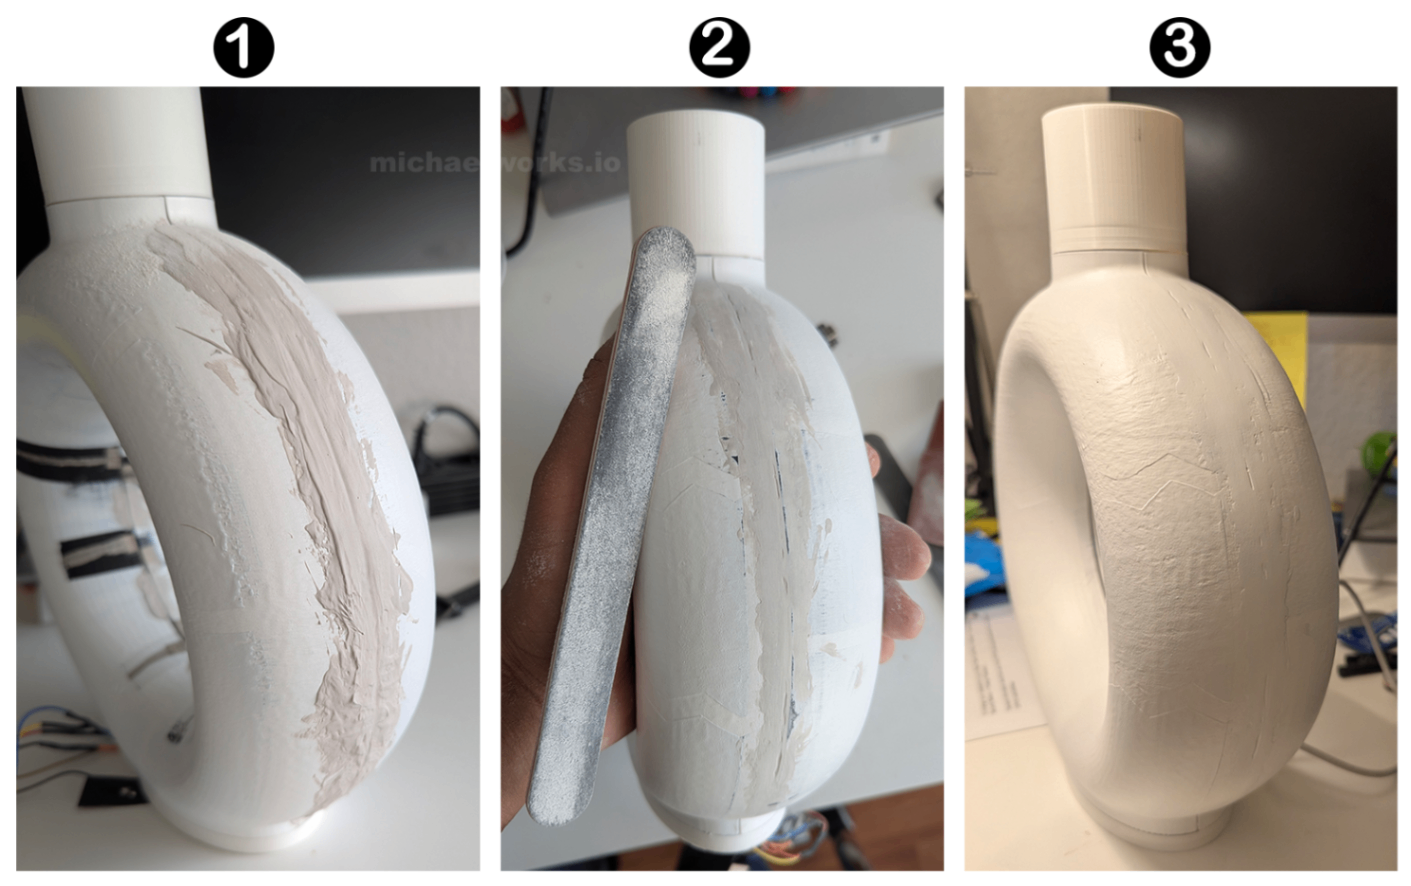
- Apply base coat
- Sand smooth (3D printing lines are the enemy of clean electronics)
- Apply painter's tape stencils
- Spray diluted conductive ink with an airbrush
- Remove the tape carefully (very carefully)
- Apply protective topcoat
- Cross your fingers and test
Making It Work
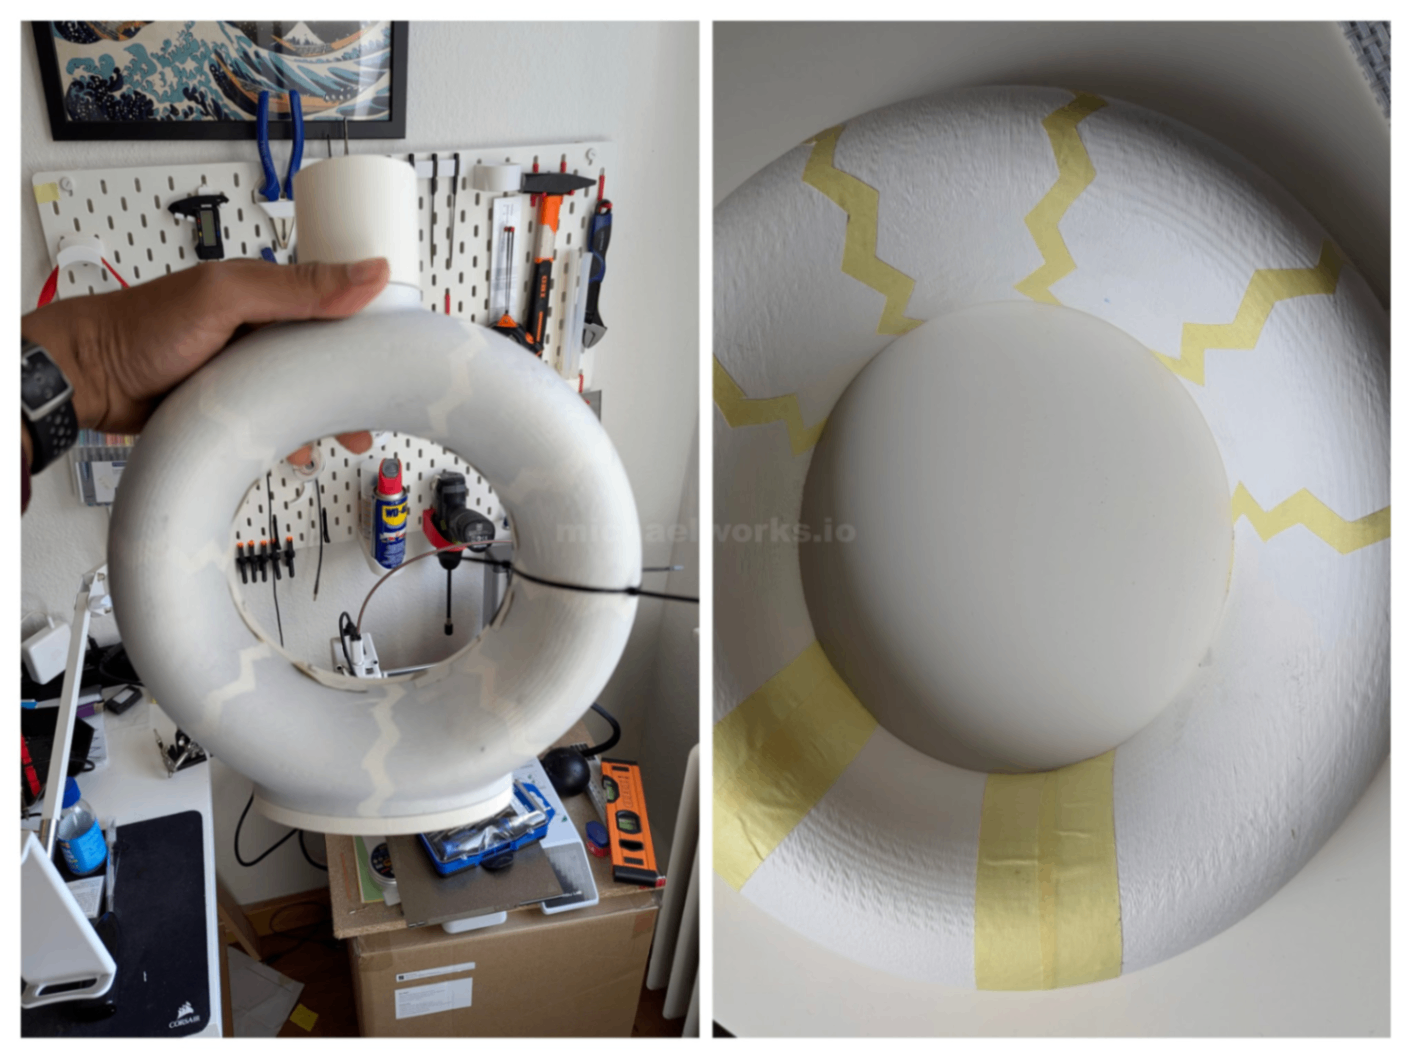
The electronics were surprisingly straightforward once I had a reliable surface to work with. 16 capacitive touch channels (8 on each side) connected to a Trill Craft sensing board, which talks to the ESP32S3. However, here's where I took a different approach from my other prototypes. Instead of using Home Assistant with MQTT, I programmed the ESP32 to act as a Bluetooth HID (Human Interface Device) with the ESP32 BLE Keyboard Library, essentially making it appear as wireless volume buttons to any connected device.
See it in Action
https://portfolio.michaelworks.io/wp-content/uploads/2025/05/vase-trim.mp4
The Build: Your Turn
Want to build your own? Here's what you'll need:
Electronics:
- XIAO ESP32S3 microcontroller
- Trill Craft capacitive sensing board
- DRV2605L haptic feedback driver
- Vibration motor
- Connecting wires
Materials:
- 3D printer access (or find a maker space)
- Conductive black ink
- Airbrush or fine brush
- Painter's tape
- Primer and topcoat paint
- Sandpaper (60, 80, 120 grit)
Tools:
- Soldering iron
- Basic hand tools
- Patience (lots of patience)
The complete build files, code, and step-by-step instructions are available on my GitHub repository. But before you start printing, read through the whole process—there are several "gotchas" that can save you time and frustration.
Lessons from the Ceramic Graveyard
This failure highlighted the importance of aligning technical solutions with material constraints and interaction metaphors. Sometimes, the best research comes from things not going according to plan.
Key takeaways:
- Start with the material, not the electronics - understand what you're building on before you build
- Modular design saves sanity - when things break (not if), you'll thank yourself
- User testing reveals everything - people interact with objects in ways you never expect
- Iteration is everything - my ``final'' version was actually prototype #7
A shad of the broken ceramic vase sits on my shelf as a reminder that even failures can be beautiful. But the working 3D-printed version sits... in the basement, where it belongs.
Next: "Threading the Needle: Building a Textile-Based Light Controller"
Want to build along? Follow the series and grab the build files at https://github.com/michaelchamu/rime-artefacts. Questions? Hit me up on LinkedIn - Michael Chamunorwa.*
This post is part of a series documenting my PhD research on tangible smart home interfaces. For the complete academic process, check out the Publications page